

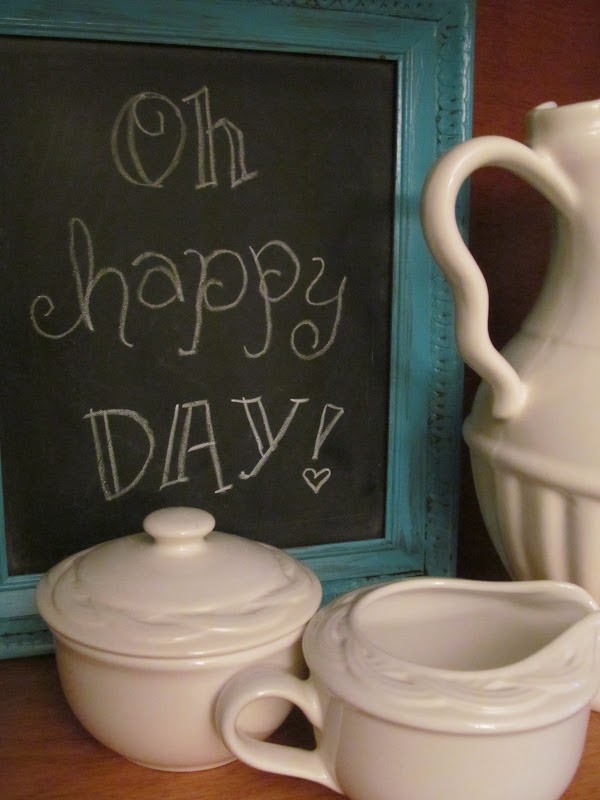
I really like chalkboards.
Some day I'll probably wonder why I ever thought it was cute
to randomly scatter chalkboards all over my house.
to randomly scatter chalkboards all over my house.

But for now, chalkboards are a fun and inexpensive way
to add a little something spunky to my house.
Besides, it's fun to take something old and ugly and make it fun and functional!
to add a little something spunky to my house.
Besides, it's fun to take something old and ugly and make it fun and functional!
Let me show you how it's done!
Supplies:
old framed print with glass
spray paint or acrylic craft paint for the frame
chalkboard spray paint for the glass
fine sandpaper
glass cleaner
hot glue gun
1. Disassemble.
First thing you need to do is take your ugly old framed print apart.
Rip off the paper backing and disassemble.
Save the actual print and cardboard backing because you are going to need it later.

2. Paint the frame.
Spray paint is fine if the weather is cooperating for you to paint outside.
Otherwise, brush on some acrylic craft paint.

I like to distress the paint with a little sandpaper treatment here and there.

3. Paint the glass.
Lay your glass from the frame on a flat surface and sand one side with fine sandpaper.
This will help the paint adhere and you will not see the scratches.
Next clean the glass with glass cleaner and clear of any dust from your work surface in preparation for the chalk paint.
I prepare a table in my garage with newspaper,
lay the glass flat(sanded side up),and spray several thin coats of chalkboard spray paint.
Just follow the directions on the can.
Don't even think about writing on it yet!
4. Prep the chalkboard surface.

After the required drying time, the chalkboard surface needs to be prepped.
Remove any dust from the surface with a dust cloth.
Using the side of a piece of chalk, slowly cover the entire surface with chalk.
Then "erase" the chalk with a soft cloth or eraser.

(In case you were wondering...this step is important!
If you don't prep the surface this way, you will forever see the first words you write
no matter how hard you try to erase them. Trust me.)
5. Re-assemble.
First place the chalkboard painted glass back into the frame.
The front of the painted glass and the front of the frame
will be face down on your table for this step.
Use your hot glue gun to make a globby bead of glue
all the way around the inside edge of the frame to hold the glass in place.
Like this:

Now it's time to put the ugly print/cardboard backing back into the frame.
Again, run a bead of hot glue around the edge to hold the cardboard in place.
Like this:

It will now look something like this.

You could quit at this point and hang her up on your wall,
but I can't stand to leave the back side so ugly when the front is so cute.
So....
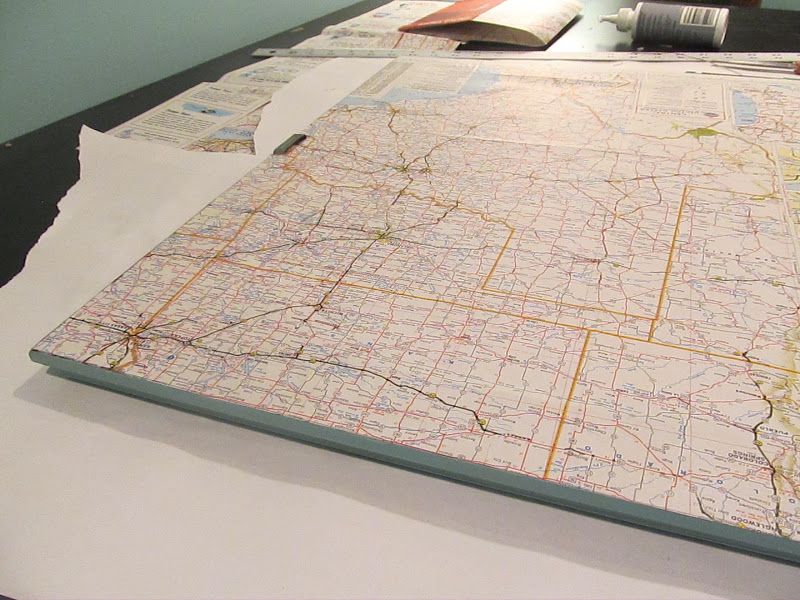
6. Don't stop now.
Measure the frame and cut out a piece of backing paper.
This baking paper can be anything--I just happen to hoard old maps.

Glue on the backing with tacky glue.
You can trim any excess paper with an exacto knife.

That looks WAY better, right?
7. But wait! There's more!
Why not take the map scraps and make some bunting too?

This one is for you, Mikaela Joi.
Hope you love it!
Well, I love it, is mine in the next post? Haha!
ReplyDeleteHey, look on Instagram at my picture from yesterday that said perfect reminder. If you look at the bottom left corner of the scripture board you will spy one of your adorable flowers! :)
Yay for blog posts! :)
xxoo
I so want to do to this. There has been a wall hanging I've wanted to make and this would be perfect. Thanks for the tips!
ReplyDeleteYES! I love it, and Mikaela will too! Can't wait to see it in person--perhaps on our second annual Deur Christmas tree expedition?
ReplyDeleteOH MY STARS! It is perfection! :) I love it so much! Thank you so much, it will be absolutely perfect in my room!
ReplyDelete