

Believe it or not, I just may cross something off my to-do list today!
Okay, realistically, it's only started. I specialize in starting projects.
But started is one step closer to being done.
Right?
~ ~ ~
Now, I know you are just dying to know all about my project,
but I have a daughter crying on my shoulder at this very moment.
No worries, she's fine--just sad that the big girls get to go swimming without her.
Duty calls, but I will return!

There. She's all better.
Nothing that a batch of no-bake peanut butter cookies can't cure.

~ ~ ~
Now back to the big reveal.
Drum roll please........
 The chair before...
...and after!

There.
That only took me two years and 20 minutes to accomplish.
These beauties have been patiently waiting for me
ever since I lovingly rescued them from a trashy yard sale.
Trouble is, I have a project list a mile long.
Just ask Todd.
So they sat like this. Um. Not too comfy.

But I'm not sitting on this either. Ewww.

So today, after years of neglect,
comes 15 minutes of fame for my homecrest girls.

Just in case
you ever stumble across
a set of 1960's vintage Homecrest patios chairs
that beg you to stuff them into your van and take them home,
I will explain the transformation in my very first ever
"how-to-make-something-ugly-into-something-sorta'-cute"
post.
~ ~ ~
Okay people.
We have another meltdown on our hands.
Pretend you can hear lovely elevator music while I put you on hold,
because all I hear is crying. Oh, and arguing.
~ ~ ~
I'm back again.
That's the way we roll around here.
Scattered.
~ ~ ~
I feel I need to
hurry
to get through
this next part
before another
fiasco.
~ ~ ~
Or
maybe
it's just the
sugar
from
two
no-bake
peanut butter cookies
rushing through my
veins.
~ ~ ~
So here goes.
With as few words as possible.
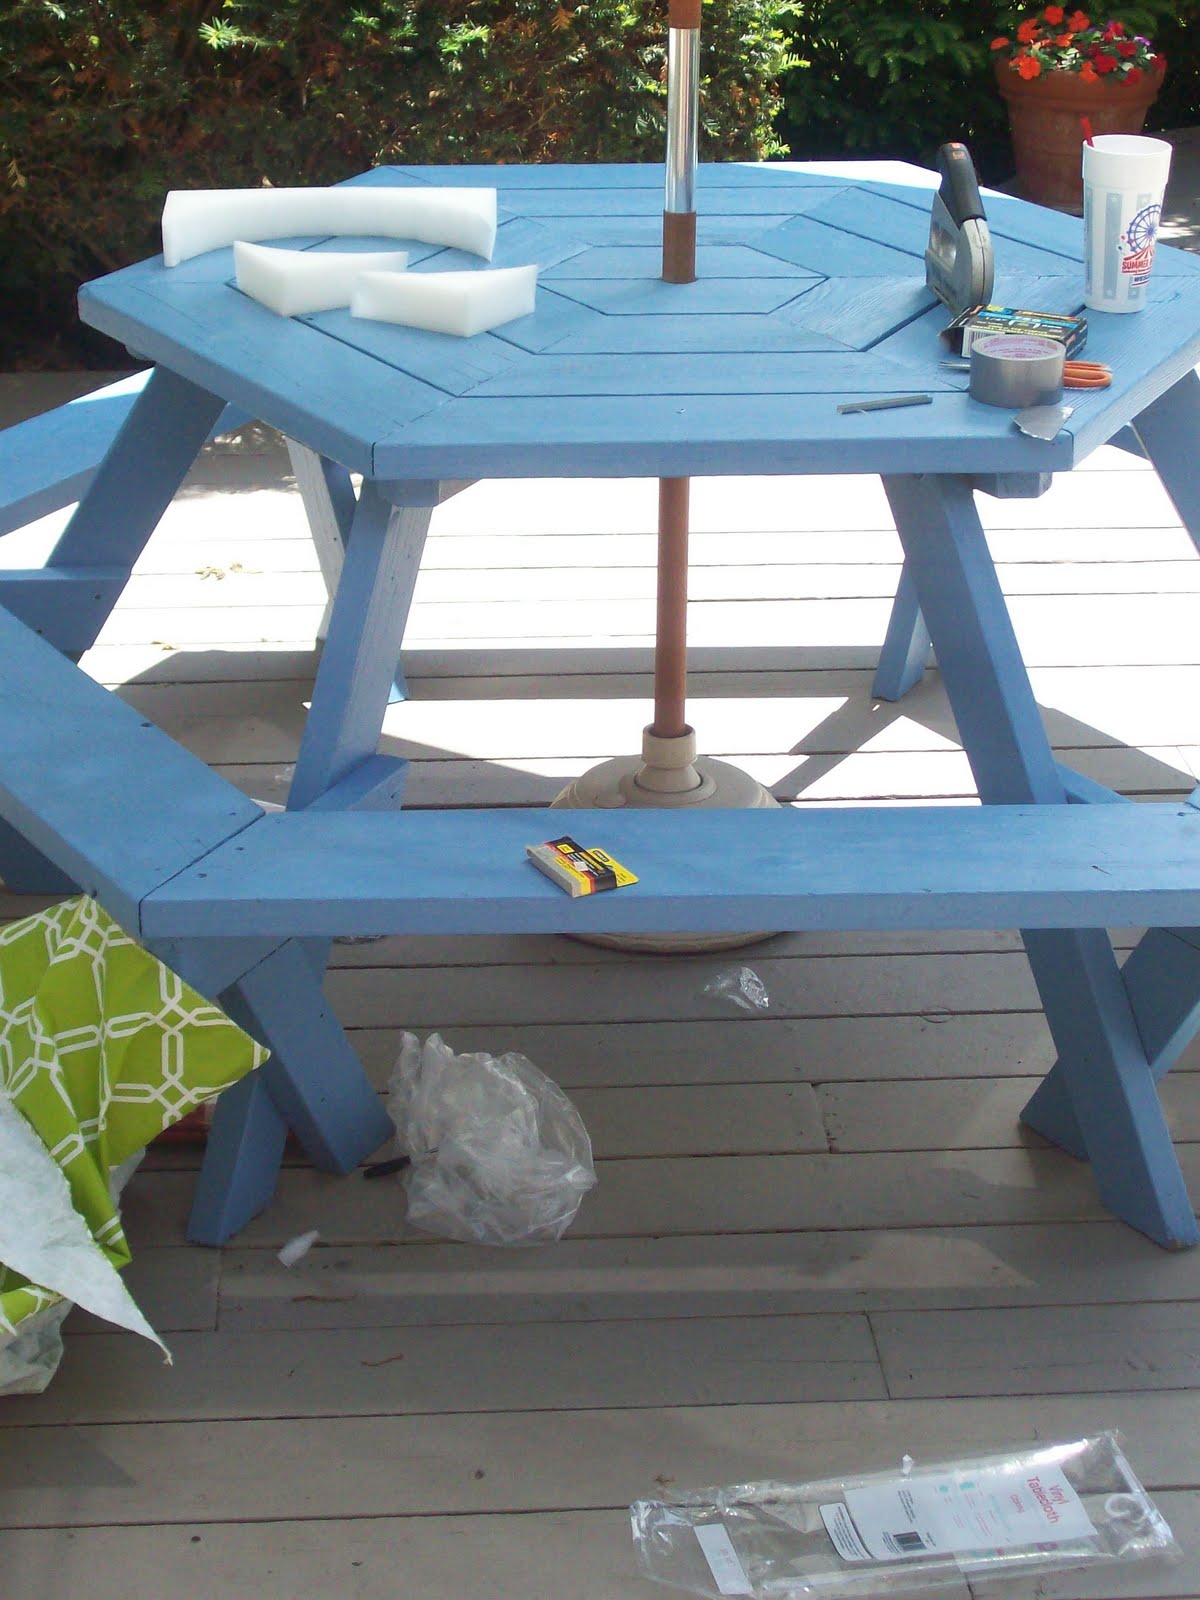
Supplies.
 (The Mr. was so kind as to cut the circles from our old basement plywood.)

There. She's all better.
Nothing that a batch of no-bake peanut butter cookies can't cure.

~ ~ ~
Now back to the big reveal.
Drum roll please........

...and after!

There.
That only took me two years and 20 minutes to accomplish.
These beauties have been patiently waiting for me
ever since I lovingly rescued them from a trashy yard sale.
Trouble is, I have a project list a mile long.
Just ask Todd.
So they sat like this. Um. Not too comfy.

But I'm not sitting on this either. Ewww.

So today, after years of neglect,
comes 15 minutes of fame for my homecrest girls.

Just in case
you ever stumble across
a set of 1960's vintage Homecrest patios chairs
that beg you to stuff them into your van and take them home,
I will explain the transformation in my very first ever
"how-to-make-something-ugly-into-something-sorta'-cute"
post.
~ ~ ~
Okay people.
We have another meltdown on our hands.
Pretend you can hear lovely elevator music while I put you on hold,
because all I hear is crying. Oh, and arguing.
~ ~ ~
I'm back again.
That's the way we roll around here.
Scattered.
~ ~ ~
I feel I need to
hurry
to get through
this next part
before another
fiasco.
~ ~ ~
Or
maybe
it's just the
sugar
from
two
no-bake
peanut butter cookies
rushing through my
veins.
~ ~ ~
So here goes.
With as few words as possible.
Supplies.

Absolutely critical supply.

Sand and tape rough edges.
Don't want the "fabric" to rip.


Trace.

Cut.

"Measure."

Cut.
 Good enough.
Now smile and take a goofy picture
because you are a clever momma and have sent your four children
on a walk around the block to get slushies which will take them at least
fifteen minutes!

Next, you'll need this.

Do something like this.
I know that is vague, but you just have to wing it.

Wah-lah! A lovely combination of duct tape and staples!
Hoping the duct tape keeps the tablecloth "fabric"
from tearing away from the staples.
It's tacky and it might not work.
Whatev's.
So there you have it!

Cute and comfy!
(The chair--not me.)

Now, who wants to clean up the mess
while I call Better Homes and Gardens?

Wait a minute.
I still have three more to go.

I need another cookie.

Sand and tape rough edges.
Don't want the "fabric" to rip.


Trace.

Cut.

"Measure."

Cut.

Now smile and take a goofy picture
because you are a clever momma and have sent your four children
on a walk around the block to get slushies which will take them at least
fifteen minutes!

Next, you'll need this.

Do something like this.
I know that is vague, but you just have to wing it.

Wah-lah! A lovely combination of duct tape and staples!
Hoping the duct tape keeps the tablecloth "fabric"
from tearing away from the staples.
It's tacky and it might not work.
Whatev's.
So there you have it!

Cute and comfy!
(The chair--not me.)

Now, who wants to clean up the mess
while I call Better Homes and Gardens?
Wait a minute.
I still have three more to go.

I need another cookie.
hahaha....i love it, could you put more DIY projects...the flowers. you are so crafty and funny and have a beautiful way of sharing life.
ReplyDeleteKimmy K
so THAT'S why you gave me $5 and the kids. haha. :)
ReplyDeleteAunt Kristi, you are HILARIOUS! :) I love reading your commentary! Awesome writing and CUTE chairs! Keep up the amazing work that you're doing on this blog! I love reading it!
ReplyDeletetesting testing 123
ReplyDelete